Tuesday 24 January 2012

Painting Cabinets: Priming

Decided to go with Zinsser 1-2-3 Primer for the cabinets.  The lack of paint/stain on the cabinets meant that we could probably get away without using an oil-based primer.  The 1-2-3 sounded like a fine fit for the project.

Backs and sides done and dry.  Working on the fronts.

Finished priming, good coverage means 1 coat will do.


All the doors finished and drying for 24 hours.


Cabinets done in primer.  Had to use some BIN spray in a few spots.

Painting Cabinets: Preparation

Got all the doors off the cabinets and set up an "assembly line" in the basement to work on.

Sunday night.
Sunday night.
Next day, we got to filling the holes from the old hardware with wood-filler and sanding it smooth.  We are replacing the handles with knobs so one hole needed to be filled and smooth.  Did this on the inside and outside and also filled any knicks or other imperfections in the door.  Got them sanded smooth before finishing for the night.

Monday night.
Final part of the preparation stage was washing down the cabinets with TSP and water (about 1:15) and then again with water to remove any film left by TSP.


Wednesday night.
 
All ready for primer!

Someone Stole Our Doors!

Ok, not stolen but removed for some... rejuvenating.

Kitchen Gets an Island and New Pantry

We quickly realized the the kitchen was not terribly functional, especially due to the lack of counter space.  First thought: buy/build island.  After looking for something used for a couple weeks, made a trip to Home Depot and picked up two white cabinets from a truck load sale they were having.  Picked up a 30" base cabinet and a set of drawers.  This gives us an almost 4' island.  Temporarily we are using a sheet of good-one-side 1/2" plywood leftover from shelving project.  Already the island is used everyday, all the time, and don't know how we could do without it now.

Empty... not much counter space.

Island added in.

Not hardware or counter top yet.

Around the same time, Erica's mom came down to visit.  As part of ah house-warming gift, she bought us 3 upper cabinets (same truck load sale as the island cabinets we used) to replace the pantry we currently had.  The pantry we had was a bit too deep and too far place left that the doors hit the fridge when open and we couldn't barely pull the shelves out from the fridge due to fridge door hitting pantry.

We screwed the new upper cabinets together and to the wall to create a new pantry which isn't as deep as the old one and moved to the right about 6".  This allows us to get the drawers out of the fridge easily and both doors can easily open.


Picture from house sale ad.
Note painter's tape handles.

More pictures to come in the near future.

Entrance Coat Rack

After replacing the drywall and priming and painting the entire foyer, we made a plan about what to do in the nook.

Before new drywall and paint.
Eventually we will be buying/building a bench and we decided to build a coat rack.  Having unsuccessfully used drywall anchors for the coat racks already (Erica ripped one out one day), it was decided we would screw board to wall, fill holes, prime and paint, and add hooks to the wood.  These things aren't going anywhere.

Board mounted, wood-filled, and 1 coat of primer.

After a couple coats of paint.
Finally hooks and coats up.

Izzy even got a hook for her leash:


New Master Closet Organizer

Don't have any before pictures but the closet used to be built with 16" deep particle board with 24" wide shelves on the left and a single closet bar on the right.  We ripped it all out taking with it a bunch of paint and drywall.  Repaired the drywall with a few coats of mud, sanded, primed, and painted.

(Blue lines represent the layout of the old closet with closet rod on the right hand side)

Old master closet organizer (blue lines)


We used 12" (or was it 14") melamine shelving boards to make the new closet organizer.  We used 1x3s screwed into the studs all around the closet to hold up the shelves.  The holes were countersunk to hide the screws and eventually we will fill the holes with wood filler and prime/paint the 1x3s.  Used some white closet rods and flush mount rod holders for the closet rods.  Everything fits good.  We also picked up some remote operated battery powered LED lights for the closet.  There are 4 pucks and although not that bright, work good for a bit of extra light in the closet.

The closet is much more functional as previously we had about 4 feet of closet rod and that was it.  Now we have almost 3 times that much.  The top shelf is quite high but still accessible and good for storing sweaters and such.  The closet didn't take very long once we got started but took a LOT of planning to try and figure out the best way to do it and make it look good.

New master closet.

Storage/Electrical Room Shelving

Unfortunately do not have before pictures but here are a few of the shelves that we built.  Built the food "boxes" first and the floating shelves after.  In retrospect, floating shelves all around would have been the way to go.  Oh well.  Also added the coat bar in front of the electrical panel and a box to cover the panel is in progress.  Room is about 5x12.

Food cubes work good but would have been much easier to build floating shelves.

Room is a lot fuller now.

Floating shelves, again, a lot fuller now.  Water meter was left accessible on bottom right.

Entrance and Powder Room Paint

When Erica's mom was down, we decided to paint the entrance and powder room.  The powder room used to glow with the green paint and the entrance was beige (do not like beige) and purple.  Patched the holes and sanded, then did a coat of primer and two coats of paint.  Much cleaner looking now and no more purple.

Old green powder room after patching some holes.


Old purple wall vs. new white primer
New color of powder room and foyer.
Got a new light but still on the search for new mirror.

Entrance Drywall Replacement

When we moved in, the small 4' wall in the entrance was a deep purple color that needed to go.  Before repairing the holes left by the shelf, I wanted to scrape down the holes a bit.  That's when the wallpaper underneath (that we weren't aware was there) began to peel.  Long story short, the entire sheet was ripped out and replaced with a new one.

Original entrance setup.
Fresh drywall.
Mudding in progress.


Bye Bye Brass Fireplace

Shortly after we moved in, we knew that the brass surround and trim on the fireplace had to go.  After a bit of Googling we determined that a bit of sanding and some Rustoleum flat black heat paint would easily fix our problem.

It is always daunting to paint something that wouldn't normally be painted but it turned out good and looks much better.

Picture of mantle from for sale ad.


Rustoleum High Heat paint
Starting on the insert.
Decided to paint in dining room; not sure why.
Finished product (got a good cleaning at some point after this picture :)).

Built A New Shed Door

Although the chipboard door on the shed was a thing of beauty (not so much), it was rotted all along the bottom and if the door was taken off the hinges, I am almost sure it would fold in half.  Built a new one out of some good-one-side 1/2 plywood leftover from shelving project.  Got the screw holes and seams wood filled but the weather was too cold to get it sealed and finished before winter.  I'm sure it will be fine for now and will get it sealed/stained/painted in the spring. 

Old shed door (placed it there for comparison picture).
New shed door, will see stain or paint in the spring.

Moving Day

In all the rush and chaos, we didn't take too many photos.  Perhaps because we were working on the Coors light 60 pack from Costco that Nick picked up the week before on his motorbike.  Picked up the moving truck at 8 am, got help from 4 friends, packed up, unloaded, and truck returned by 1 pm.  Thanks to everyone for the help.

The pictures below show just about how far everything got that day.  After lunch, we set up the Internet and the TV, watched the matinee hockey game followed shortly after by double header on CBC.  Productive indeed.

Bad cell picture but you get the idea.
Entrance is a bit cluttered.
Living room.

Stipple Needs to be Gone

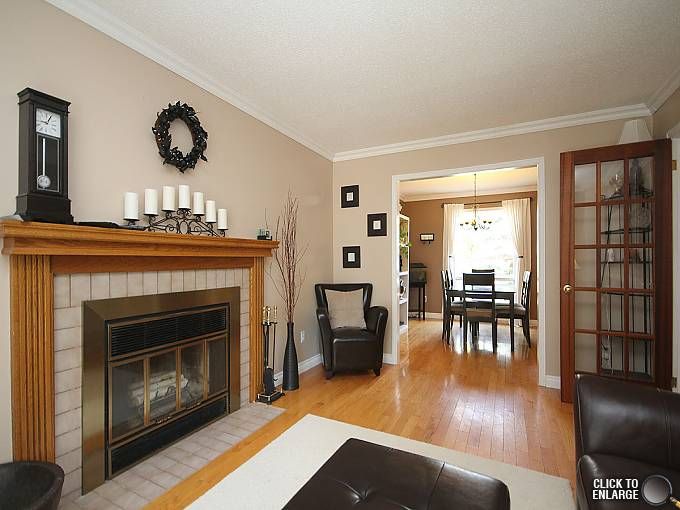
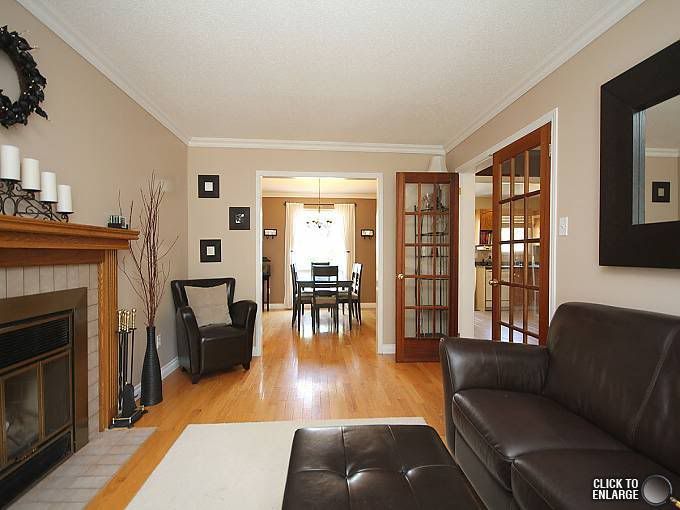
One thing we noticed when we first looked at the house, was the overwhelming use of stipple ceiling throughout the entire house minus bathrooms and kitchen.  Even the basement and cathedral stairway ceiling received this royal treatment.

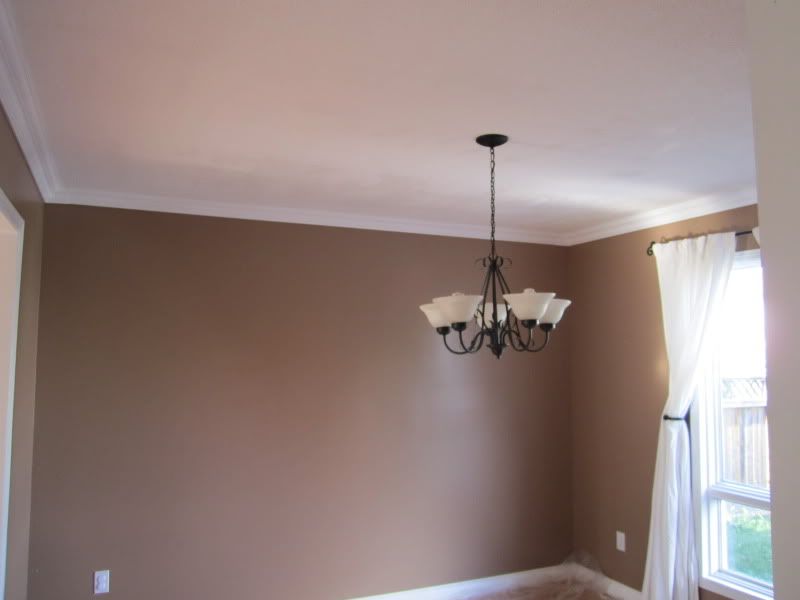
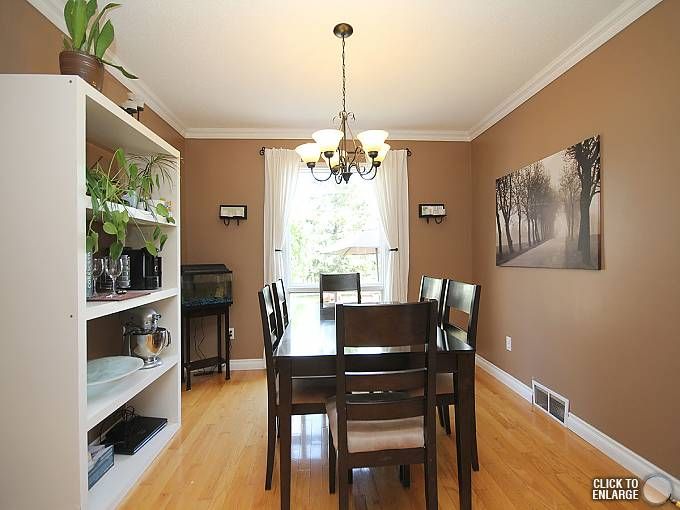
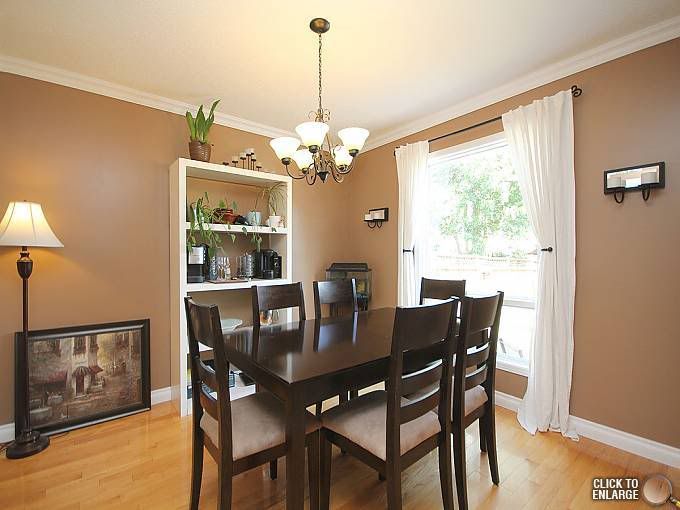
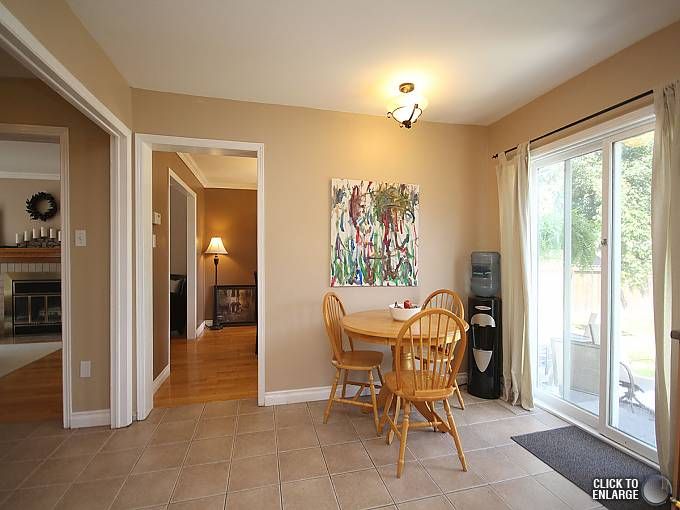
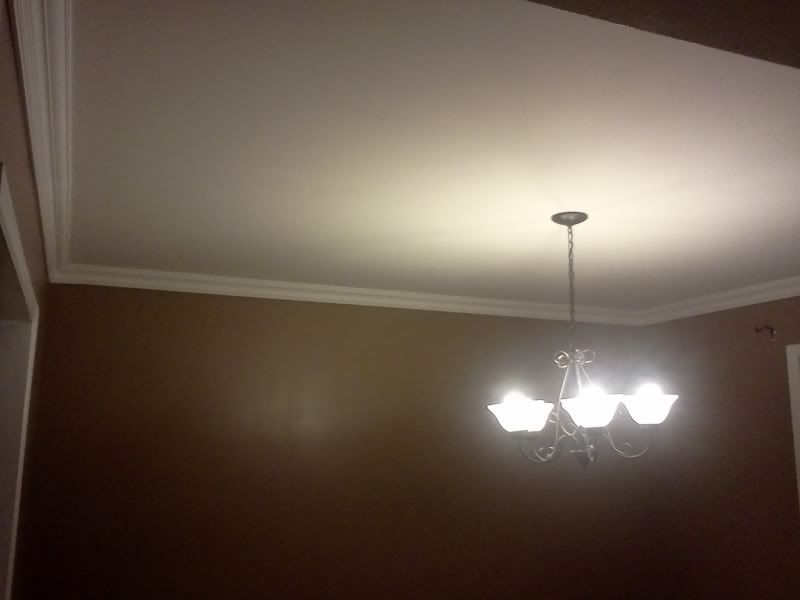
Stipple ceiling in the dining room.
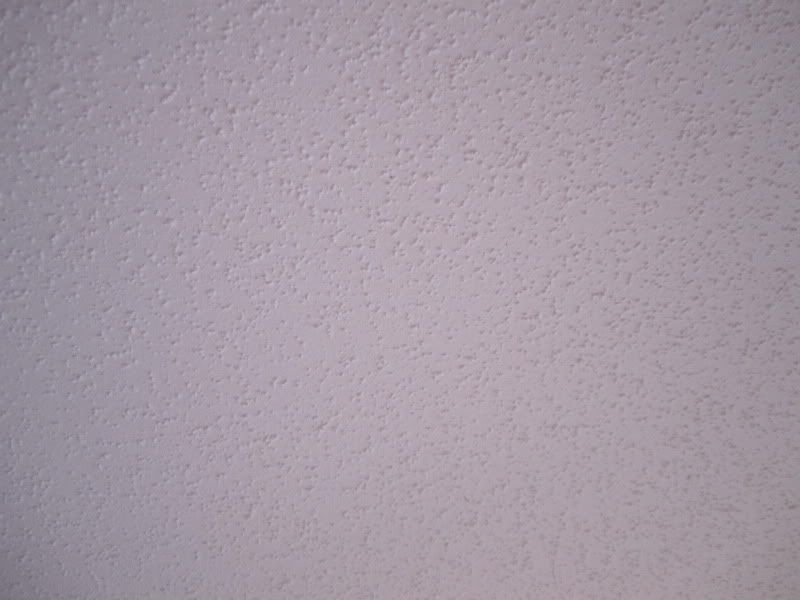
Stipple up close.  Basically paint with sand blasting beads mixed in.

After watching a few videos and reading a few how-to's, we figured we could get the main floor done on the weekend after we received possession of the house before we moved everything in.  It would be easier with nothing in the way and the mess it would surely create, could be cleaned up much easier.

We started by wetting the ceiling down, letting it sit, and then taking 8" and 12" drywall knives to it to try and scrape it off.  After this, we would skim coat with drywall mud, let it dry, sand, repeat, paint.

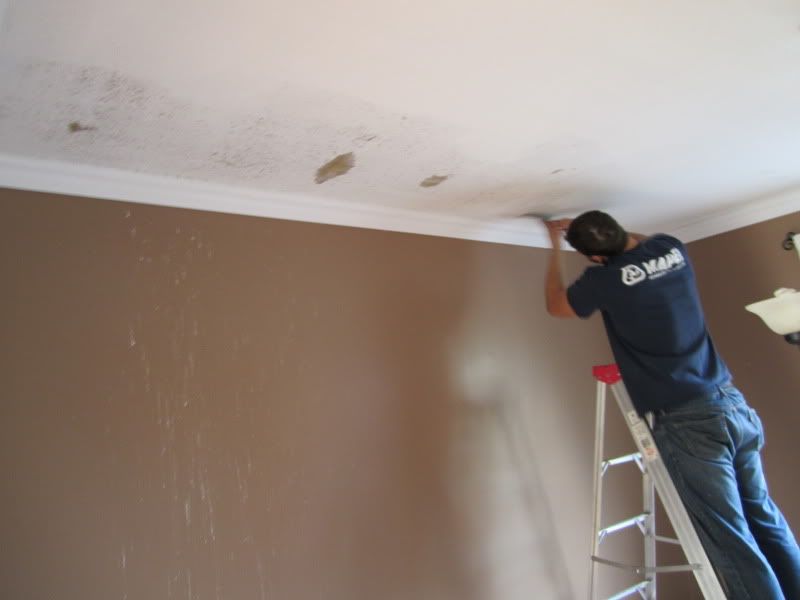
3 more hours of scraping ensued,
After the 3 hours of scraping and 3 hours of not-so-great skim coating, we decided we needed to call a pro to finish up.  We knew that any rough drywall areas or uneven spots would be clearly visible on the ceiling and we didn't want that, especially in our living room.  After some practice, perhaps we would be able to do this ourselves, but with little-to-no drywalling experience, we would let someone else handle it this time.

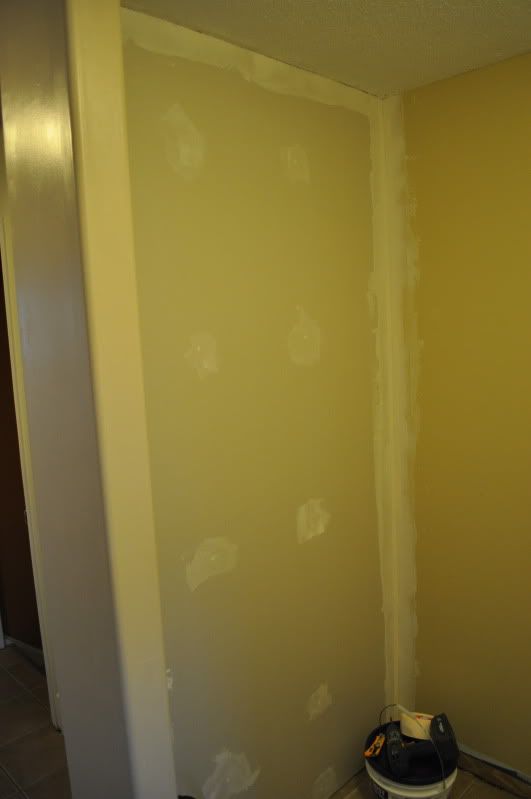
After contractor sanded and skimmed.
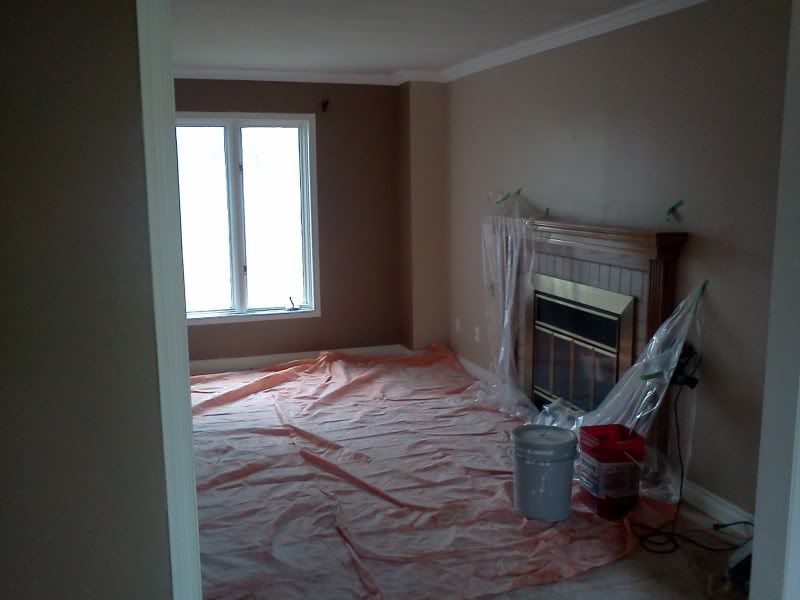
What a mess.
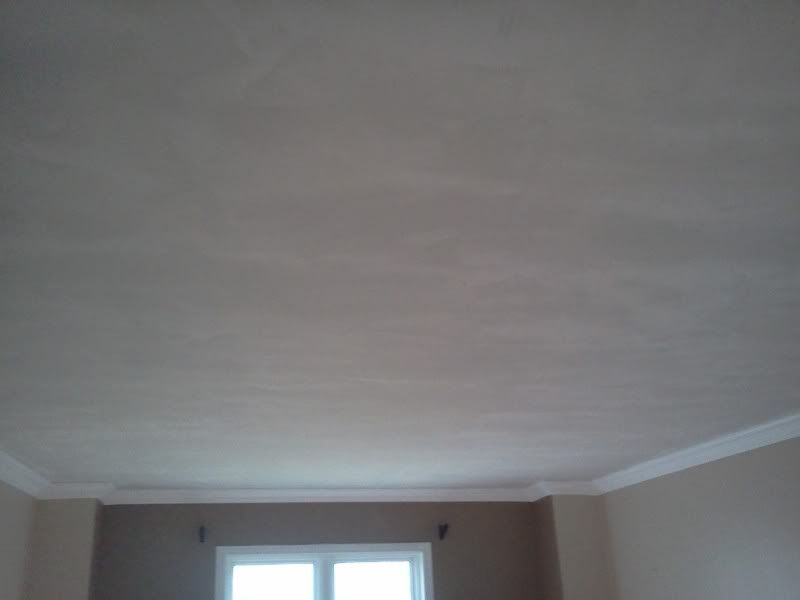
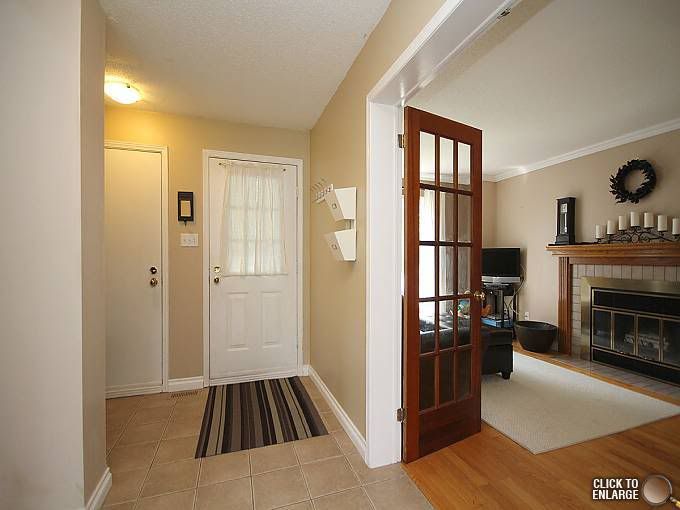
All done after final sanding.
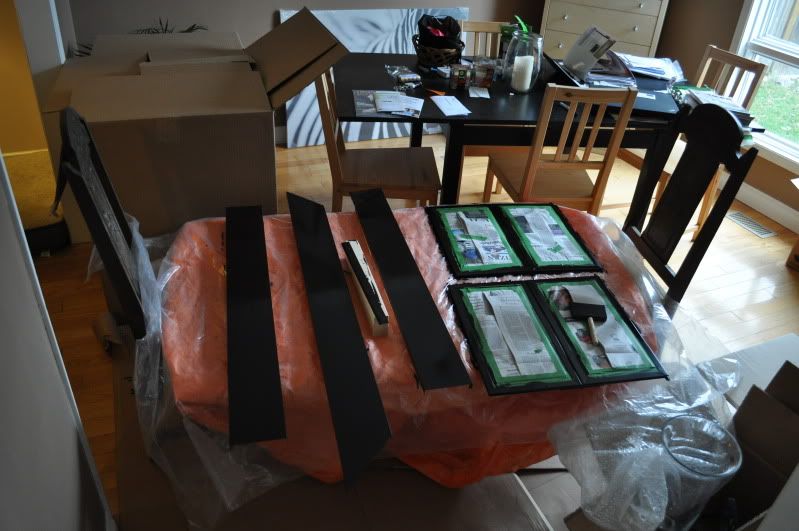
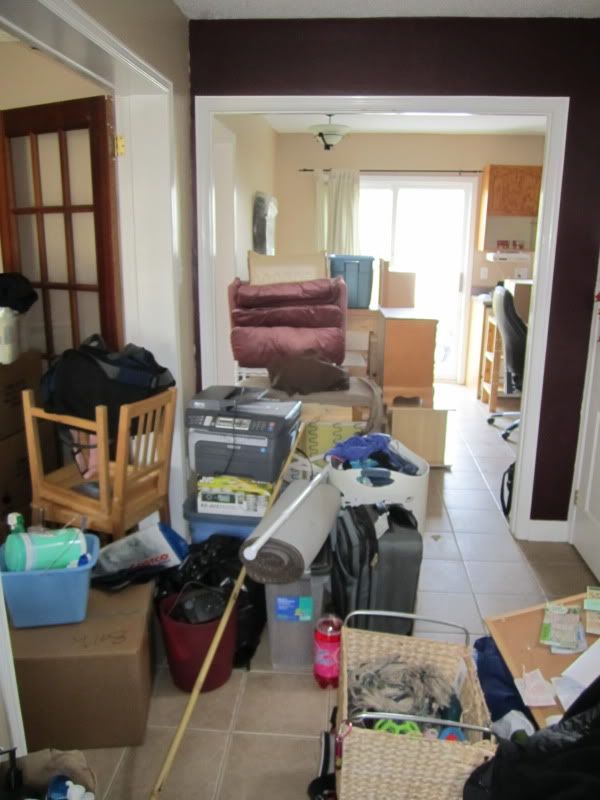
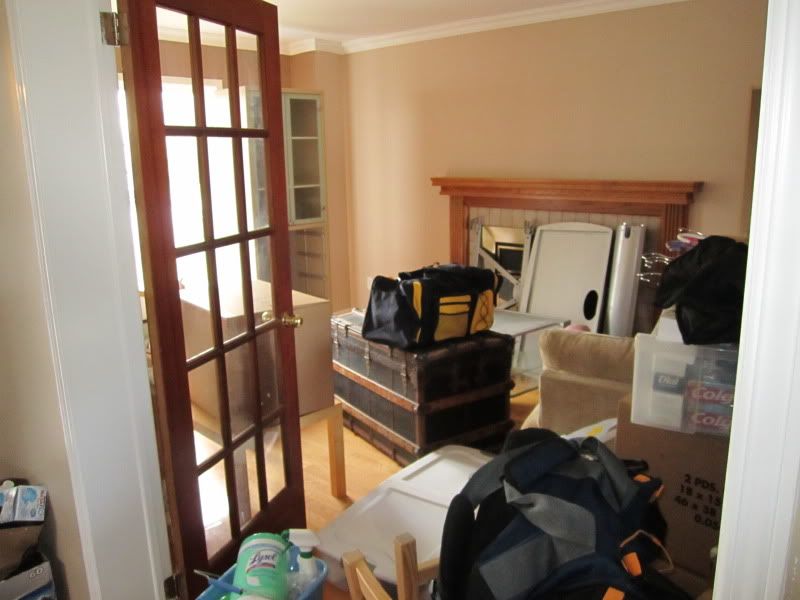
The night before we were moving into the house was a late one at the house.  Wiped down entire ceiling in living room and dining room, primed 1 coat, painted 2 coats, washed down floors and walls and cleaned up the rest of the main floor.


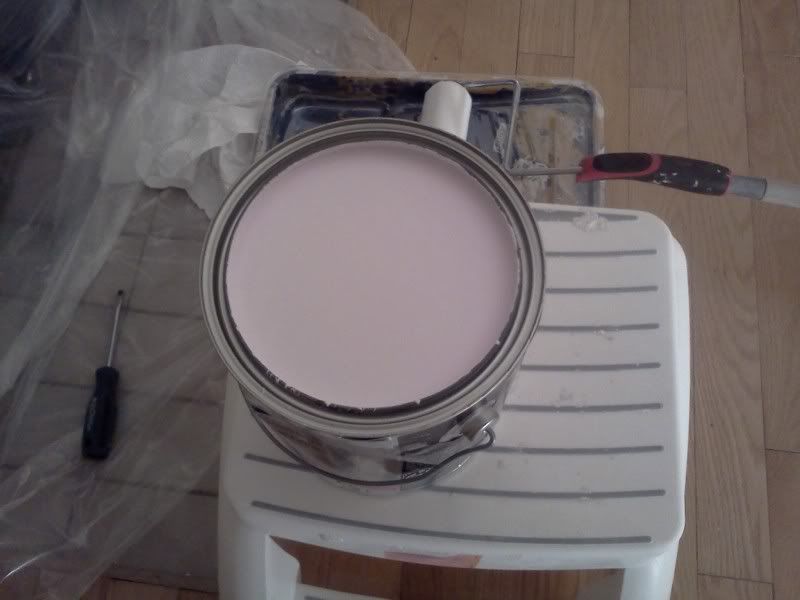
CIL ceiling paint - tinted pink but dries white so you can see where you have painted.
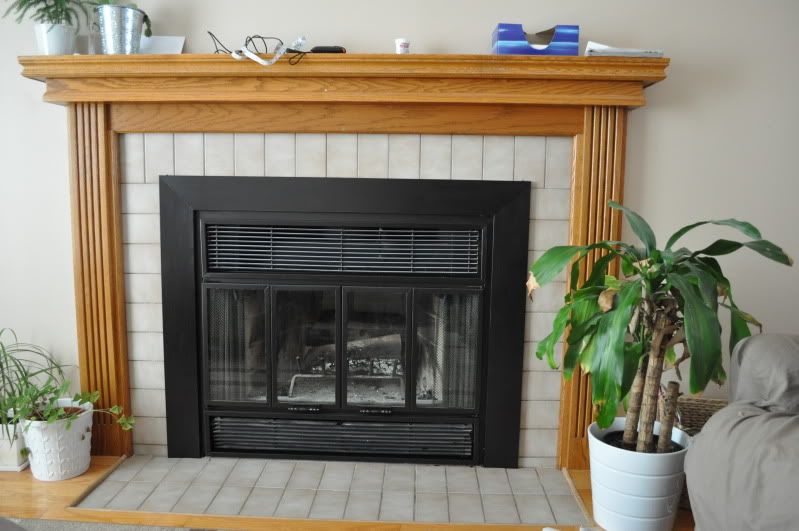
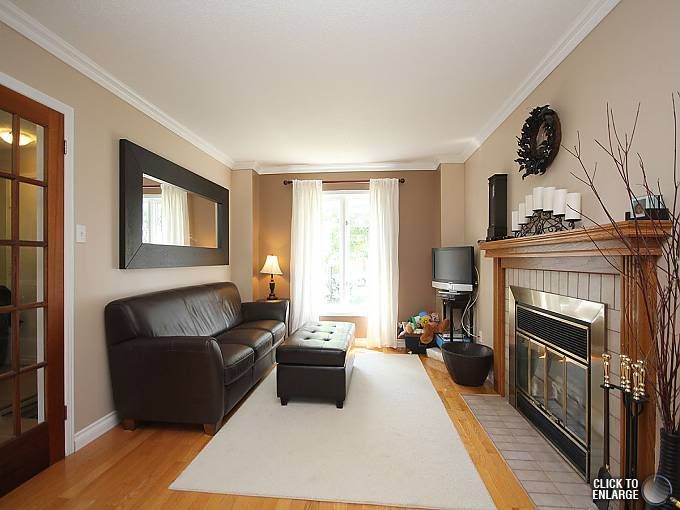
All done, 2 rooms out of 10!

Tour Of Our House - For Sale Ad Photos

Now, we did take pictures of the entire house (more or less) when we moved in but instead of showing a big mess, sparse decor, and general lack of organization, we'll just put use the pictures taken by the realtor used in the for sale ad.

Foyer


Foyer


Living Room


Living Room


Dining Room


Dining Room


Living Room


Living Room Doors


Kitchen


Kitchen


Kitchen


Kitchen


Master Bedroom


Master Bedroom


2nd Bedroom


3rd Bedroom


4th Bedroom


Main Bathroom


Basement Rec Room


Powder Room


Backyard